This tutorial will show you how to create a simple project in BoraGrid. The project will have four modules.
Make sure that the BoraGrid Server is installed and running.
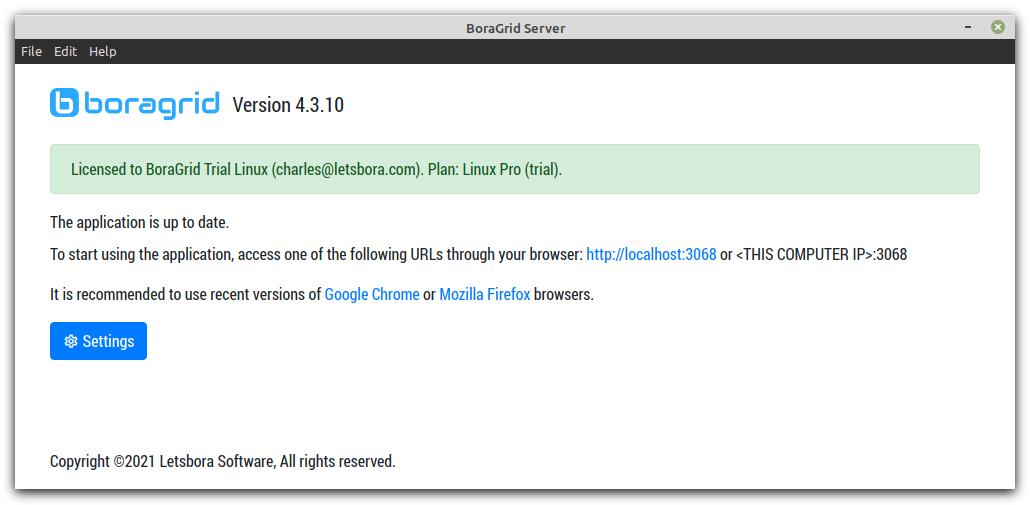
If you are using the same computer where BoraGrid Server is installed, click the link indicated in the interface. e.g. http://localhost:3068. The default browser will open BoraGrid Client application page.
If you are using another computer on the same network as BoraGrid Server, access the IP of the computer where it is installed. Include in the address the port that is informed on the server interface. e.g. 192.168.100.12:3068
Loging in
Log in using a registered user email and password. For more information, see the article Default Users and Passwords.
Adding an encoder
For the project to work, at least one encoder must be stored in the database.
- Click the Settings link at the top of the page to go to the Settings page.

- Click the Encoders item, then click the Add link.
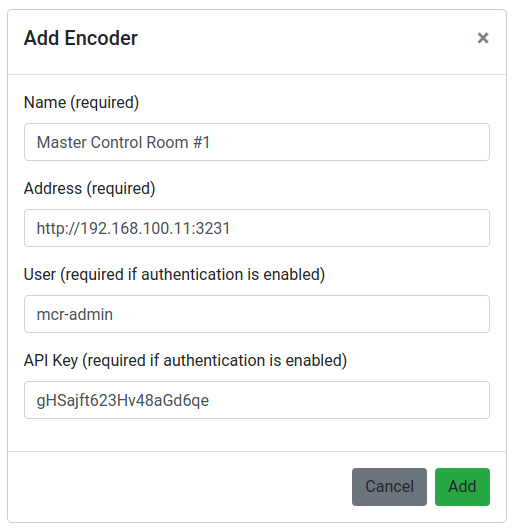
- Enter your encoder information. For more information, see the article Encoders Settings.
- Click the OK button
Setting up the project
- Click the Main Control link at the top of the page to go to the Main Control page.

- Click the Project Settings shortcut link. The project settings window will pop up.

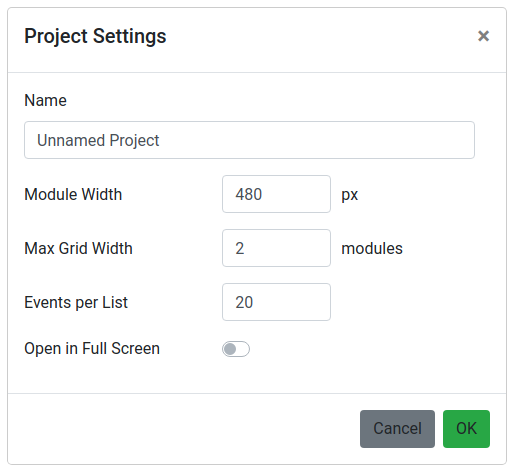
- Name your project as “My First Project”.
- Enter 2 for Max Grid Width.
- Leave the other fields with their default values.
- Click the OK button.
- Save your project going to Menu > Project > Save.
Adding modules to the grid
Adding an Encoder System Information module
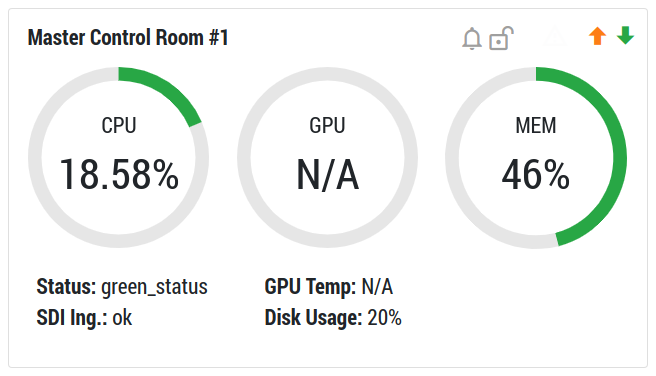
The Encoder System Information module shows basic system information of a connected encoder such as memory, CPU and GPU usage.
- Click the New Modules shortcut link. A module settings window will pop up.

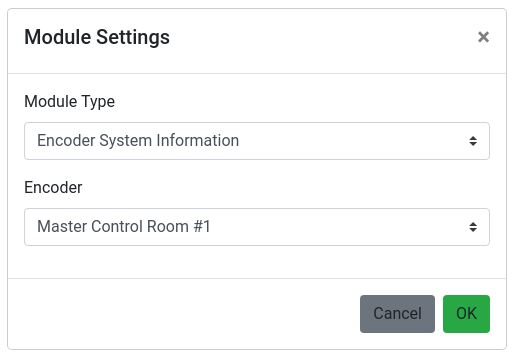
- Select Encoder System Information as module type. The encoder selector will be displayed.
- Select your encoder then click OK.
The newly created module will appear in the grid.
For more information, see the article The Encoder System Information Module.
Adding an Encoder Alerts module
The Encoder Alert module shows alert messages emitted by the encoder.
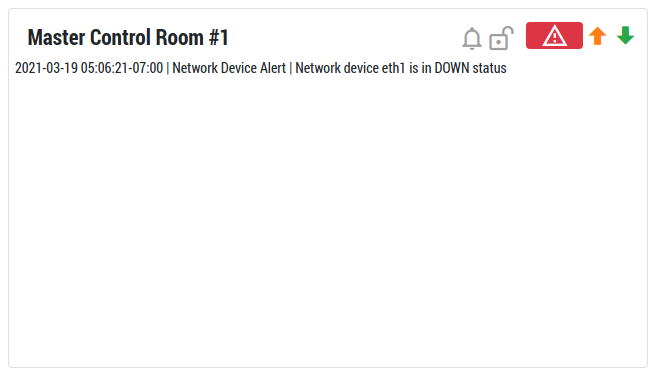
- Repeat the previous steps, but this time select Encoder Alerts as the module type.
Form more information, see the article The Encoder Alerts module.
The Event Controller module
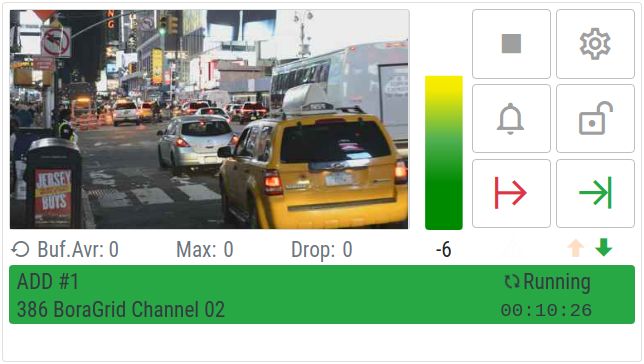
The “Event Controller” module allows you to monitor and control an event. Optionally a second event (the twin event) can be simultaneously controlled by the module.
- Create a new module. This time select Event Controller as module type. Several new fields will be displayed.
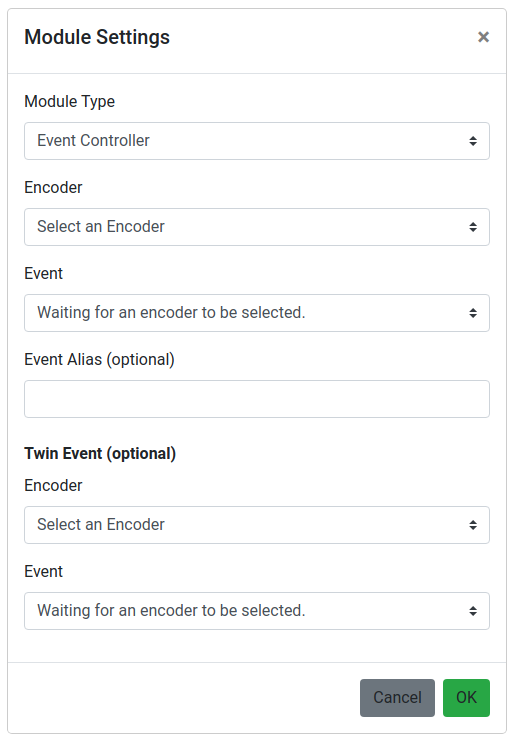
- Select your encoder. In a moment the list of events from your encoder will appear in the Event selector.
- Select an event and leave the other fields blank.
- Click the OK button.
For more information, set the article The Event Controller module.
The Event Log module
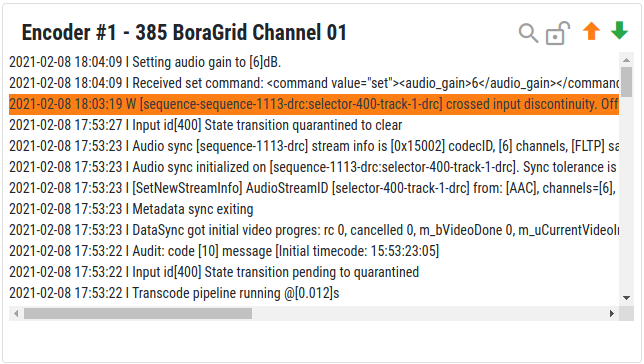
The Event Log module displays the log of an event. The most recent occurrences are shown at the top. Warning messages are displayed with an orange background.
- Create a new module. Select Event Log as module type, then select the same event that you chose in the Event Controller module.
- Click the OK button.
For more information, see the article The Event Log Module.
Dragging and dropping the modules
Try moving the modules around by dragging and dropping them.
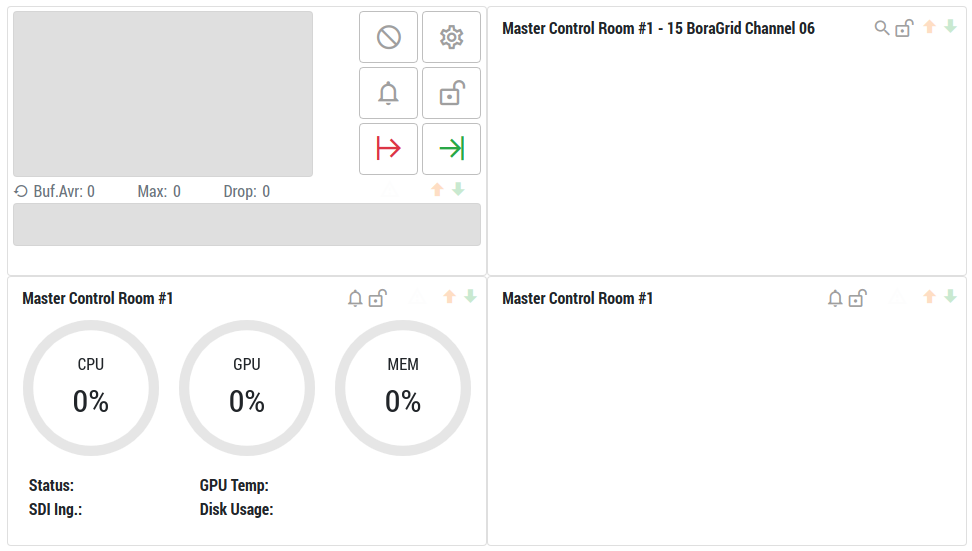
Connecting to your encoder
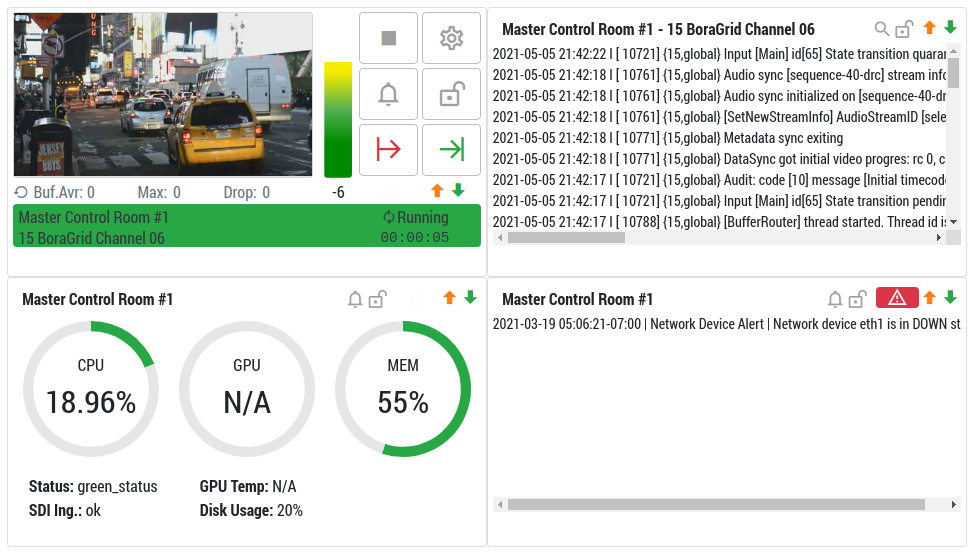
Connect to your encoder to start receiving information from it.
- Click the Connect button in control panel or go to Menu > Project > Connect.
Sending commands
- Try Reset, Start and Stop the event via the buttons on the module or from the control panel.
For more information See the articles The Event Controller Module and The Control Panel.
Saving and loading your project
- To save your project on the server, go to Menu > Project > Save.
- To load it, go to Menu > Project > Open…
Congratulations, you have just created your first project!
